 Share on media
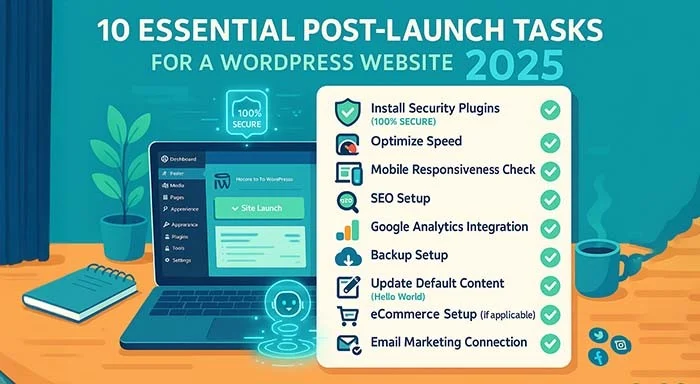
Creating a WordPress Site WordPress site is fun- but it is only the starting point. After completing the initial installation, there are numerous essential settings you should adjust to make your website secure, optimized, and visitor ready.
1. Set Your Site Title, Tagline, and Time Zone
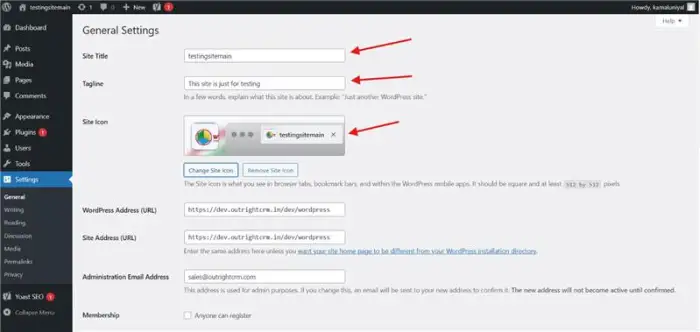
Fig: WordPress General Settings Panel
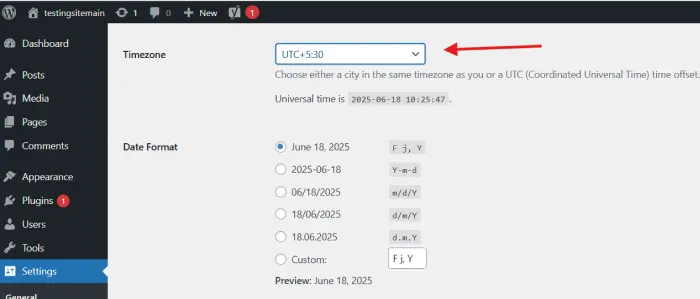
Fig: Site title, tagline, and time zone configuration fields are displayed on the WordPress General Settings page.
Go to Settings > General. Options to personalize your site title and tagline are here. These show up in search engine listings and browsers tabs, so use clear, concise text that describes your brand or mission when you create WordPress website.
Also, don’t forget to select the right time zone. This determines your schedules of posts, comments on time stamps, and plugin functionality. Select your local time zone or your target audience for more accuracy.
2. Configure Permalinks
The second essential setting to adjust right away is the permalink structure. In Settings > permalinks, switch from the default “Plain” format to “Post name.” This tidies up your URLs, makes them SEO-friendly and easier to link to (e.g., https://dev.outrightcrm.in/dev/wordpress /blog/%postname%/.
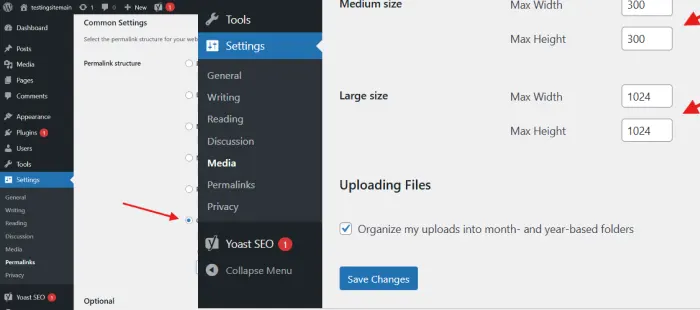
Fig: The “Post name” structure is chosen for SEO-friendly URLs in this screenshot of the WordPress Permalinks Settings page.
A later permalink change can result in broken links and SEO problems, so avoid doing so. Understanding the WordPress Directory Structure is crucial for implementing these URL changes effectively.
3. Create a Static Homepage
WordPress shows your most recent posts as the default homepage. If you are Creating a WordPress Site for business or portfolio purposes, you might prefer a static front page.
To accomplish this, navigate to Settings > Reading and select “A static page.” Choose a page you have created as your homepage and another for blog posts if required. This provides greater control over the structure and user experience of your site.
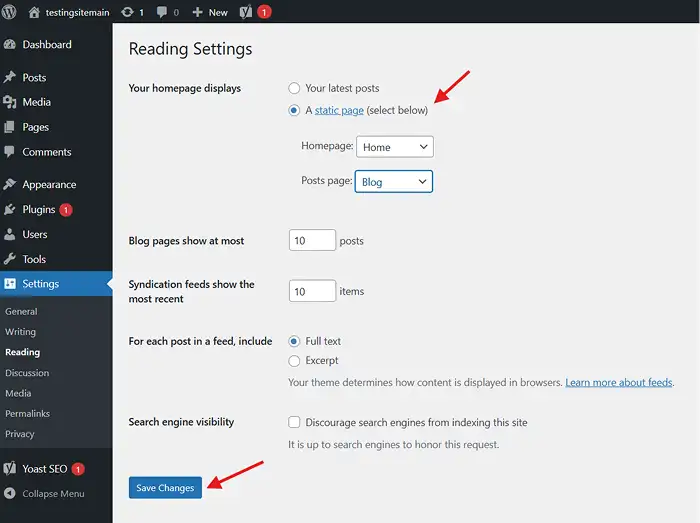
Fig: WordPress Reading Settings page showing the option to set a static page as homepage instead of latest posts.
4. Customize Discussion (Comment) Settings
WordPress has comments enabled by default not all sites require them. To make changes, go to Settings > Discussion.
Most important options to check:
- Disable comments on new posts if your site does not require them.
- Allow manual comment approval to block spam.
- Disable pingbacks and trackbacks if you do not see their value.
These settings regulate engagement and eliminate spam.
5. Set Media Settings
Navigate to Settings > Media to change the image sizes WordPress automatically creates when you upload an image. This is useful if you need to maximize site performance or block WordPress from generating excessive file sizes.
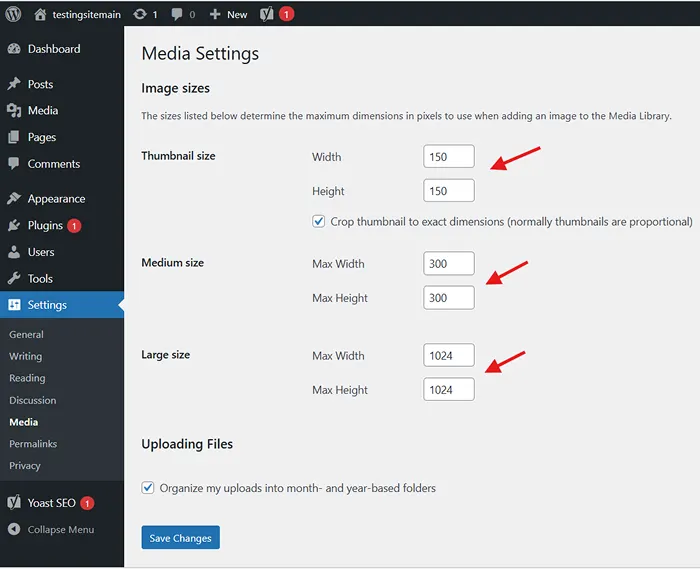
Fig: WordPress Media Settings page displaying image size configuration options for thumbnails, medium, and large images.
If you will be using a custom theme with exact image sizes, you may duplicate the settings here for uniformity.
6. Remove Default Content
Following a new install, WordPress comes with placeholder content: a dummy post, page, and comment. Remove these in posts > All pages, and Comments to begin from scratch and appear more professional.
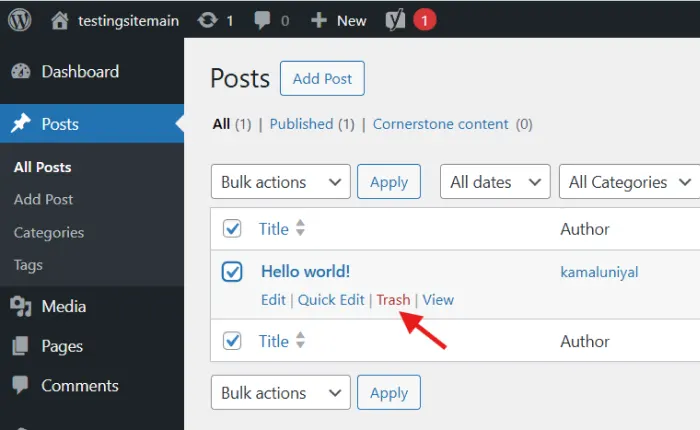
Fig: WordPress Posts/Pages management interface showing default content that needs to be removed for a professional appearance.
7. Update Admin Display Name and User Profile
In Users > Profile, ensure your display name and profile are updated. This is particularly important if your site displays author names on posts—having a generic “admin” appearance is amateurish and can be a security hazard.
Pick a distinctive username (not “admin”), and use your real name or brand name as your display name.
8. Install the Required Plugins
Despite WordPress’s inherent strength, plugins expand its functionality. Install the required plugins listed below:
Yoast SEO or Rank Math – Increase your site’s SEO and manage meta tags.
Akismet Anti-Spam – Stop spam comments.
WP Super Cache or W3 Total Cache – Boost site speed.
UpdraftPlus – Set up automatic backups.
Wordfence Security – Add a second layer of security to your site.
9. Set Up Your Design and Theme Customization
To access the theme customiser, select Appearance > Customise. You can configure your menus, widgets, colours, fonts, and logo here.
Make sure your theme is responsive (mobile-friendly) and an accurate representation of your brand’s personality. Avoid using many fonts and colors so that your design doesn’t get cluttered and unprofessional. To Master WordPress Setup, keep it simple by creating a unified visual identity for your brand.
10. Organize Your Menu Structure
Navigate to Appearance > Menus and define a custom navigation menu. Include your priority pages (Home, About, Blog, Contact, etc.) and group them sensibly when you make website user-friendly.
Mark the box to identify the menu to the right place (e.g., header or footer) based on your theme.
Conclusion
WordPress websites are easy to set up, but proper configuration requires some attention when you create WordPress websites. These initial configuration set the stage for a safe, search engine optimized, and user-friendly website. You will avoid future headaches if you take the time to get them right from the beginning.
%201.png)

%201.png)

%201.png)