
 Share on media
If you are new to the platform, editing HTML in WordPress might seem intimidating and difficult. But once you understand where the HTML lives and how to access it safely, you’ll be able to customize your site as you want without relying solely on visual tools. This guide will walk you through everything that you need to know about how to edit WordPress HTML, including using the WordPress code editor, knowing when to use it, and best practices.
Whether you want to tweak a design, add some custom elements, or embed code snippets, this tutorial will tell you how to do it right and get more out of WordPress website builder.
What Does It Mean to Edit WordPress HTML?
It is important to know what HTML is before you learn how to edit WordPress HTML. HyperText Markup Language (HTML) is the standard language that is used to structure or align content on the web. It gives instructions to browsers on how to display text, images, links, headings, buttons, and other elements on a webpage. For example:
Editing WordPress HTML means that you’re directly changing the code that tells your site what to display and how to display it. There are two primary ways HTML exists in WordPress:
- Post/Page Content HTML – The code behind what you see in your pages and posts.
- Theme HTML Files – The structural HTML that defines the layout and design of your site.
They can both be edited but serve different purposes. Editing post/page HTML typically affects how your content appears to the audience, while editing theme HTML changes the overall structure or layout of your site.
Why You May Need to Edit WordPress HTML Code
With WordPress, website building is easy using visual blocks and drag-and-drop tools. Unlike other platforms as seen in a Wix vs Squarespace vs WordPress comparison; WordPress gives you the added flexibility to go beyond visual tools and edit HTML directly when you need more control.
1. Fine Tuning Formatting
You probably have noticed that sometimes that spacing, alignment, and styling look different from how you imagined it. However, by editing HTML, you can adjust paragraphs, headings, line breaks, or even add custom classes for better design and control.
2. Add Custom Code Snippets
To add custom code snippets, you may need to insert:
- Tracking codes (like analytics scripts)
- Verification meta tags
- Affiliate or ad scripts
- Custom embed codes
These often require direct HTML access.
3. Fix Layout or Display Issues
If something looks broken on the front end like a button is incorrectly linked or the image is not loading, then checking the HTML can help identify and fix the issue quickly.
4. Improve SEO Structure
HTML controls important elements of SEO such as headings (<h1>, <h2>), structured content hierarchy, and internal links. Editing HTML makes sure that your content is properly formatted and aligned with search engines.
5. Customize Themes or Templates
Sometimes, to change the layout structure, advanced users modify theme files or template parts. This requires more than just a basic editor. You need to work inside the WordPress code editor to do that.
6. Remove Unwanted Markup
Page builders or plugins may add extra code. By editing HTML, you can remove unnecessary tags for better performance and cleaner output.
In short, you won’t have to edit HTML in WordPress every day. Only when you need more flexibility, precision, or advanced customization. It gives you complete control over your website’s structure and behavior.
How to Edit WordPress HTML (All Methods Explained)
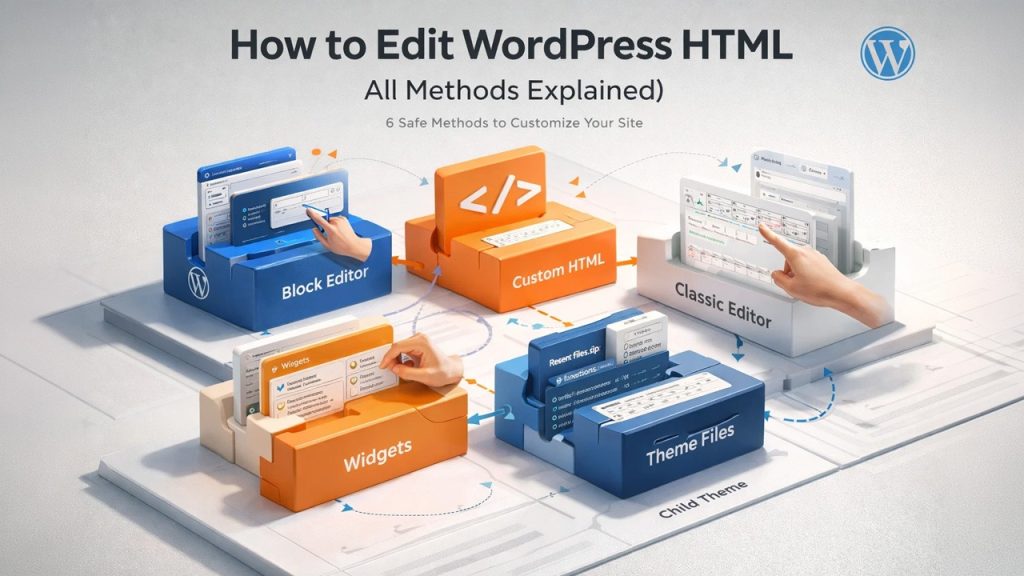
If you are trying to understand how to edit WordPress HTML, it is essential to know that WordPress provides several built-in and safe ways to do this which depends on whether you want to edit content, add custom code, or modify theme files.
1. How to Edit WordPress HTML in the Block Editor (Gutenberg)
The WordPress Block Editor allows you to edit HTML in two different ways:
- Editing the HTML of a specific block
- Editing the full HTML of a post or page
A. Editing HTML of an Individual Block
This method works best if you only want to modify a small section of your content, such as a paragraph, heading, or image.
Step-by-Step Process:
- Log in to your WordPress dashboard.
- Navigate to Posts » Add New or open an existing post/page.
- Click on the specific block you want to edit.
- In the block toolbar, click the three vertical dots (⋮).
- Select “Edit as HTML.”
When you choose this option, WordPress switches that particular block from visual mode to HTML mode. You will now see the markup for that block only. For example, a paragraph block will display <p> tags, and an image block will show <img> tags with attributes like src and alt.
B. Editing the Full HTML Using the Code Editor
If you need to view or edit the complete HTML of the content area, WordPress allows you to switch to the full Code Editor.
Step-by-Step Process:
- Open the post or page that you want to edit.
- Click the three dots in the top-right corner of the screen (editor options menu).
- Select Code Editor.
This will display the entire HTML structure of your post or page content. This option only shows the HTML of the content area. It does not include theme files like header.php or footer.php.
You can switch back to the Visual Editor to preview your content after editing. However, you should proceed carefully. Even small HTML errors such as unclosed tags can affect the layout of the page.
2. How to Add Custom HTML in WordPress Safely
If you do not want to edit existing content but instead want to add new HTML code, the recommended method is using the Custom HTML block.
Step-by-Step Process:
- Edit your post or page.
- Click the + (Add Block) button.
- Search for Custom HTML.
- Insert the block into your content.
- Paste your HTML code inside the block.
- Click Preview to see how it will appear.
The advantage of using the Custom HTML block is that the code remains contained within that specific block. This minimizes the risk of affecting other parts of your layout.
3. How to Edit WordPress HTML in the Classic Editor
If you are using the Classic Editor plugin instead of the Block Editor, the process is slightly different. The Classic Editor provides two tabs: Visual and Text.
To edit HTML:
- Open your post or page.
- Click on the Text tab.
This switches the editor from visual mode to HTML mode, allowing you to see and edit the raw markup of your content. With this, you can directly edit anchor tags, paragraph tags, image attributes, and other HTML elements. After making changes, you can switch back to the Visual tab to preview how your content appears.
4. How to Edit WordPress HTML in Widgets and Sidebars
Using Custom HTML widget, you can add HTML to your sidebar, footer, or other widget areas.
Steps:
- Go to Appearance » Widgets.
- Add the Custom HTML widget to your desired widget area.
- Paste your HTML code.
- Click Save.
In newer block-based themes, widget areas may appear inside the Site Editor under Appearance » Editor.
5. How to Edit HTML in Theme Files in WordPress (Advanced Method)
If you need to edit the structural HTML of your website such as the header, footer, or template files; you must modify theme files. This method should only be used if you understand basic HTML and PHP structure.
A. Editing Theme Files Using the Built-in Theme File Editor
WordPress includes a built-in file editor inside the dashboard.
Steps:
- Go to Appearance » Theme File Editor.
- Select the theme you want to edit (if multiple themes are installed).
- Choose the file from the right-hand panel.
- Make your changes.
- Click Update File.
Common files people edit includes header.php, footer.php, single.php, and page.php
However, there are important precautions: even a small syntax error can make your site inaccessible. Additionally, editing the parent theme directly means your changes will be lost during updates.
B. Editing Theme Files Using FTP
A safer method for advanced users is editing theme files using FTP.
Steps:
- Connect to your website using an FTP client.
- Navigate to the /wp-content/themes/your-theme/ directory.
- Download the file you want to edit.
- Open it in a code editor.
- Make changes and upload the file back to the server.
This approach allows you to keep backup copies of your original files. You can test changes locally and restore files quickly in case an error occurs.
6. Why You Should Use a WordPress Child Theme
If you plan to edit theme HTML files, it is strongly recommended to create a child theme. When you edit a parent theme directly, your modifications will be overwritten during theme updates. A child theme allows you to:
- Preserve custom HTML changes
- Safely update the parent theme
- Override specific template files without altering core files
Best Practices Before Editing WordPress HTML
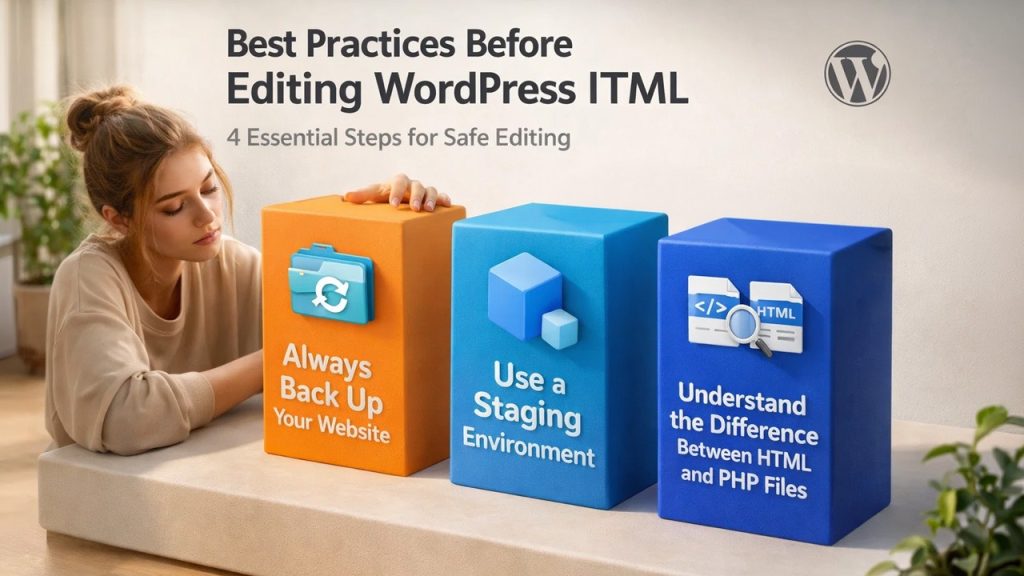
It is essential that you follow a few safety and technical best practices before starting to edit HTML in WordPress. A minor mistake in HTML can break styling, disrupt layouts, or make website parts accessible. Following the steps below will help you work confidently and reduce risks.
Always Back Up Your Website
Before you make any changes to HTML, especially theme files, remember to create a full backup of your website including both database and website files. This allows you to restore everything if something goes wrong.
Use a Staging Environment
Use a staging environment rather than editing code directly on your live website. A staging site is a duplicate of your live site where you can test changes safely without affecting visitors. This will let you experiment with HTML edits, recognize errors, and check layout behavior before pushing updates to the live version of your website.
Validate and Review Your HTML Code
Even small HTML mistakes such as missing closing tags, incorrect nesting, or broken attributes can affect the structure and styling of the page. Make sure to always double-check your code before saving changes. To ensure that your markup follows proper standards, use online HTML validation tools. Clean and valid code improves browser compatibility while reducing unexpected display issues.
Understand the Difference Between HTML and PHP Files
When editing theme files, remember that many WordPress files contain both HTML and PHP code. Be careful so that you don’t accidentally modify or delete PHP tags as it can cause fatal errors on your site. If you are not sure about a line of code, avoid changing it. After you clearly understand how PHP functions work within WordPress templates, only then modify HTML portions.
Final Thoughts on How to Edit WordPress HTML
Learning how to edit HTML in WordPress gives you greater control over your website’s appearance and structure. However, with that control comes responsibility. Taking precautions such as backing up your site, using a staging environment, working with a child theme, and validating your code ensures that your edits are safe and sustainable. By following these best practices, you can confidently customize your WordPress site without risking unnecessary downtime or technical errors.
FAQs
Is it safe to edit HTML in WordPress?
Yes, it is safe if you follow proper precautions like backing up your site and avoiding direct edits to core or parent theme files. Using built-in tools like the Block Editor also minimizes risk.
Can editing HTML break my website?
Yes, incorrect HTML or accidental changes in theme files can disrupt layouts or cause errors. It is highly recommended to test changes on a staging site.
Do I need coding knowledge to edit WordPress HTML?
Basic knowledge of HTML is helpful for safe editing. For theme-level changes that involve PHP, more advanced understanding is required.
What is the safest way to add custom HTML?
Using the Custom HTML block in the Block Editor is the safest method. It isolates your code within a specific section without affecting the entire site.
Should I use a child theme for HTML edits?
Yes, especially if you’re editing theme files. A child theme ensures that your customizations are not lost when the parent theme updates.
%201.png)

%201.png)

%201.png)